Recording your client meetings might seem daunting at first, but trust us, it’s a piece of cake! All you have to do is make sure that your clients know that they’re being recorded, why they’re being recorded, and what it all means for them.
It’s important to have the discussion around recording upfront, and usually before you hit start. Make sure to mention that this is for you and internal processes within the business, and that you will be using the recording to make sure that you’re always getting better at what you do and so that there aren’t any details missed in notes etc.
Once they agree and you answer any questions that they might have, hit record and just reiterate that you’ve had the conversation and grab a quick A-OK from the client that you’re recording just so that it’s ‘on the record’.
After that it’s all set and forget. Your phone will be on the table during the meeting, and once you’re all wrapped up with the meeting don’t forget to hit stop and that’s all she wrote!
After you clear up any processes that you have to tick off post meeting, jump on your phone and share the file with yourself so that you can access it on your PC. Or if you have Dropbox on your phone you can upload it from your recording app straight into the shared folder.
If you’re sitting there wondering how to share the folder with yourself or how to sign up to Dropbox, don’t stress, there’s a little guide below walking you through the whole process.
If you haven’t used Dropbox before it’s a lot like Onedrive or Google Drive, and if you haven’t used those either then I’ll cover the basics for you below. Dropbox (https://www.dropbox.com/) is online cloud storage, and makes it really easy to share files between people or to have your files somewhere central that you can access from anywhere.
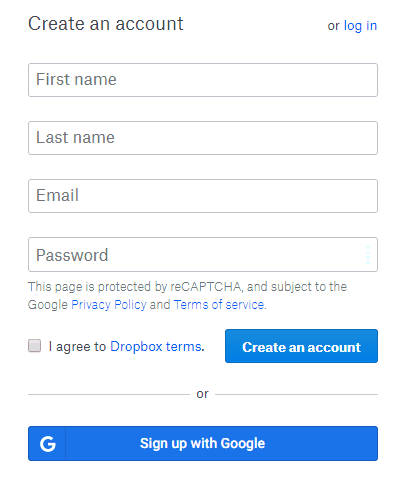
If you need to create a Dropbox account, click this link and it will take you to the page where you can register for one. All you will need for what we are using Dropbox for is a Basic account. You can sign up by creating a new account, or you can use a Google account to sign in and link the two together.
If you ever get lost or need help here is a direct link to their help section! https://help.dropbox.com/learn/video-tutorials
Sign Up
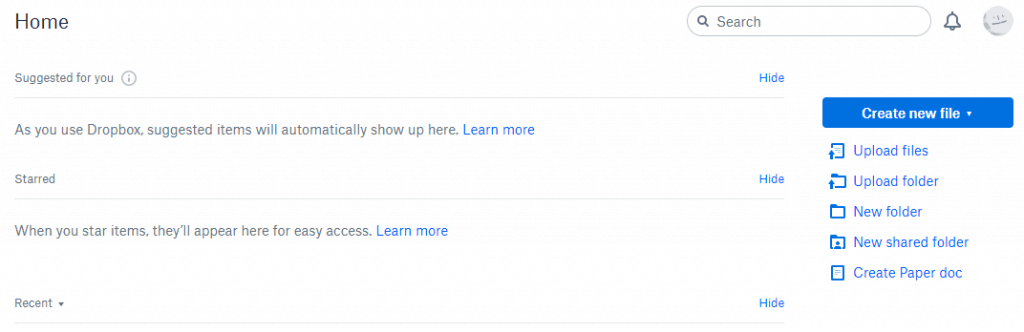
Now that you’re logged in, you’ll be at the home page where we can start creating our shared folder as well as putting any resources that you have on hand insider the folder.
It works much like a normal folder on your desktop, but you can share access to this one with anyone you like as long as you have their email address that is linked to their Dropbox account.
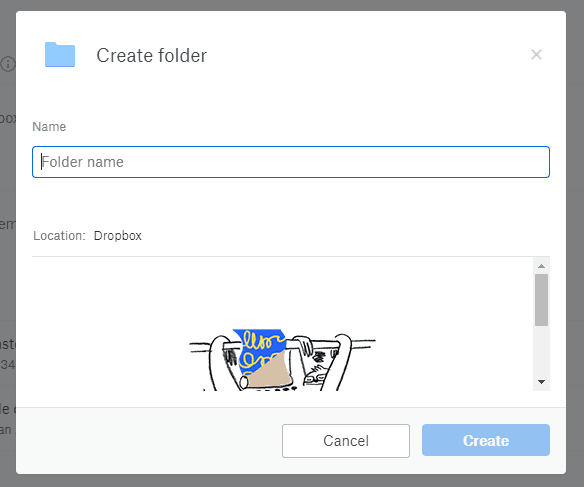
On the right is a ‘New Folder’ button, click that and name your folder. Once you hit create you will be taken into the folder, now you will be able to see on the right, some more options for the folder.
Home
Create Folder
‘Upload Files’ is what we’re looking for first. Click on that, and then find the client recording files on your computer, then select them and upload them to the folder.
Alternatively, if the recording is on your phone, head to the App store or Google store and download the Dropbox app. Once you have it installed, sign in with the account you used above to create the folder, and then hit upload once you’re inside the folder to share the files that way.
Inside The Folder
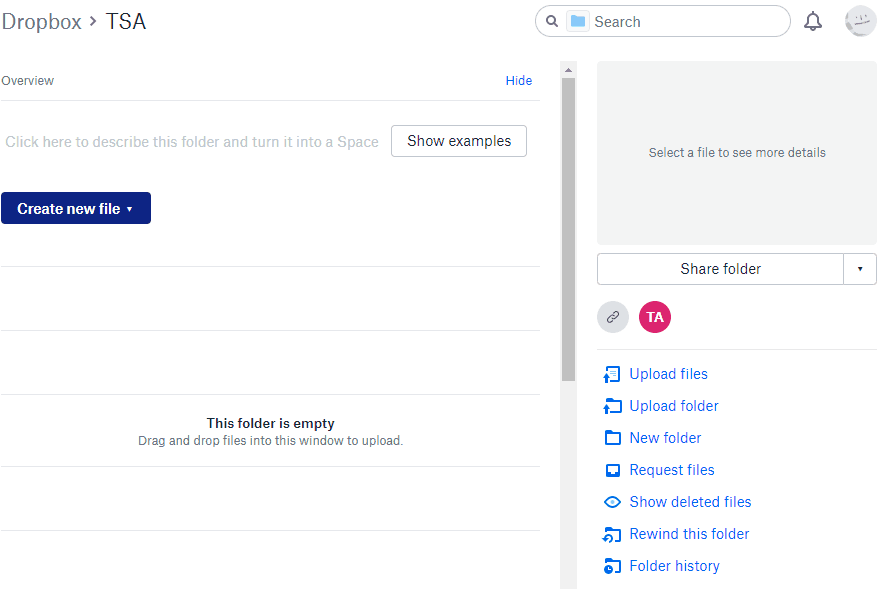
Lastly we want to make sure that we have access to this folder so that anything you need to share with us can go straight in there.
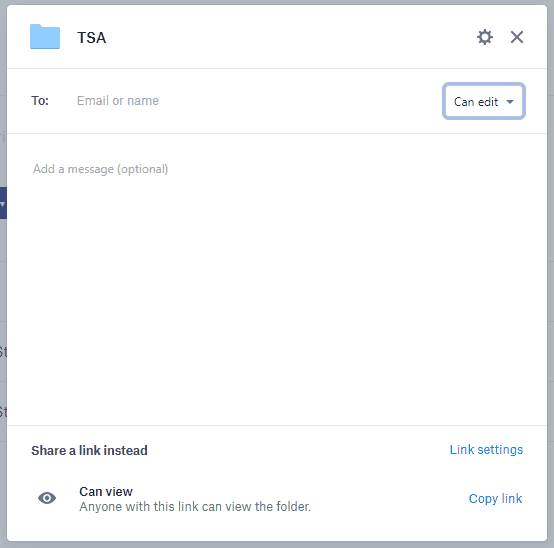
Click the Dropbox logo to get back to the home screen. Now find your folder that you created, and hover over it. There will be a share button on the right of the folder, and clicking that will take you through to the share permissions.
With a free account you have to use the email of the person/s that you want to share the folder with, although, if you have a paid account feel free to use a link to share the folder as well.
Type in our Dropbox email baz@thesocialadviser.com & info@thesocialadviser.com, and then make sure that the top right says ‘Can Edit’ and we’re good to go. Hit share down the bottom right of that popup window, and we’ll be able to see the resources that you upload into the folder.
Share